How Can You Safely and Efficiently Installing a Hampton Bay Ceiling Fan
Learn how to Installing a Hampton Bay Ceiling Fan safely and efficiently step-by-step wiring, mounting, balancing, and expert tips for homeowners and pros.
Installing a Hampton Bay ceiling fan can seem intimidating at first glance, but with the right preparation and a little patience, it’s one of the most rewarding home upgrades you can make. A properly installed fan doesn’t just add style it improves comfort, reduces HVAC costs, and enhances indoor air circulation year-round.
Table of Contents
Why Choose Hampton Bay for Your Ceiling Fan Installation
Hampton Bay, a Home Depot-exclusive brand, is known for reliability, easy-to-assemble designs, and excellent value. From the modern Mara Smart Fan to the rustic Carriage House II, each model includes clear instructions, labeled wiring, and pre-balanced blades that simplify installation.
| Model | Style | CFM (Airflow) | Energy Use (W) | Control Type | Best For |
|---|---|---|---|---|---|
| Mara Smart Fan 54” | Contemporary | 6 200 | 40 | Wi-Fi / Remote | Smart homes & energy retrofits |
| Carriage House II 52” | Classic | 5 200 | 62 | Pull Chain | Traditional living rooms |
| Roanoke Outdoor 48” | Outdoor / Rustic | 4 100 | 58 | Pull Chain | Porches & sunrooms |
Table 1 – Top Hampton Bay fan models and their airflow performance.
Preparation: Tools, Safety, and Planning
Essential Tools
- Phillips and flathead screwdrivers
- Adjustable wrench / socket set
- Voltage tester and wire stripper
- Step ladder (6–8 ft)
- UL-rated fan mounting bracket
- Wire connectors and electrical tape
- Drill with 1/8″ bit for pilot holes
Safety Checklist
- Turn off power at the breaker panel.
- Confirm the circuit is off using a non-contact voltage tester.
- Inspect the ceiling box —it must be fan-rated and securely attached to a joist or brace per the Canadian Electrical Code (CEC) Section 30-324.
- Use a metal fan box for added strength (UL/CSA certified for 70 lb load).
Choosing the Right Mounting Type
| Mount Type | Ceiling Slope Range | Recommended Downrod Length | Notes |
|---|---|---|---|
| Standard Mount | 0° – 15° | 3–6 in. | Common for 8–9 ft ceilings. |
| Angled Mount | 15° – 30° | 12–18 in. | Use angle adapter kit. |
| Flush Mount | Flat | 0 in. | Ideal for low ceilings (< 8 ft). |
Step 1 – Assemble the Mounting Bracket
Secure the bracket to the electrical box using #10-32 machine screws. The slot in the bracket should align perpendicular to the joist. If you’re installing a smart model with a receiver module, ensure there’s enough space above the bracket for wiring and signal clearance.
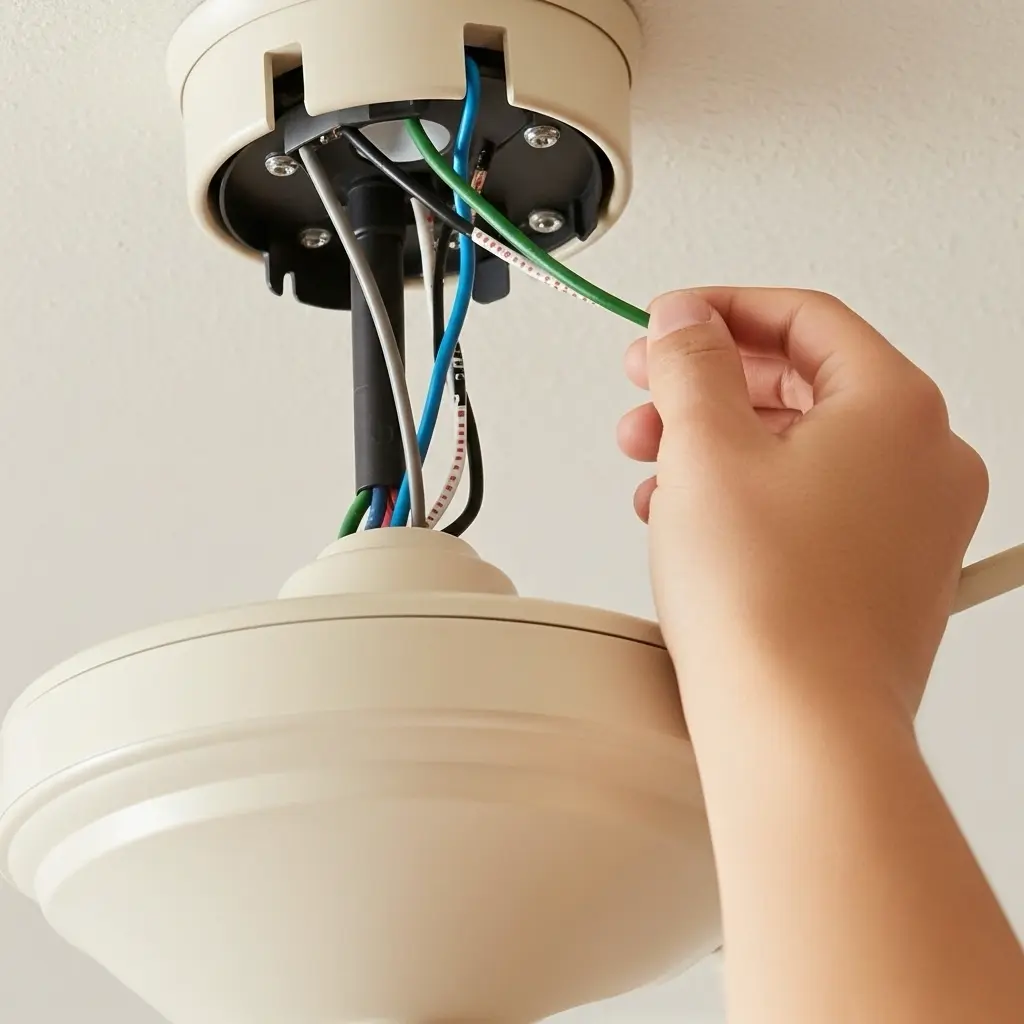
Step 2 – Prepare Wiring Connections
Typical Hampton Bay fans come with black (hot motor), blue (hot light), white (neutral), and green (ground) leads. Your house wiring should include a matching set from the ceiling box:
| Fan Wire Color | Ceiling Wire Color | Function | Connection Note |
|---|---|---|---|
| Black | Black / Red | Power for fan motor | Connect to wall switch load. |
| Blue | Red | Power for light kit | Optional; tie to same hot as motor if single switch. |
| White | White | Neutral | Always connect neutral to neutral. |
| Green / Bare | Green / Bare | Ground | Connect to mounting bracket ground screw. |
Table 2 – Standard Hampton Bay fan wiring color codes (per CEC and NEC standards).
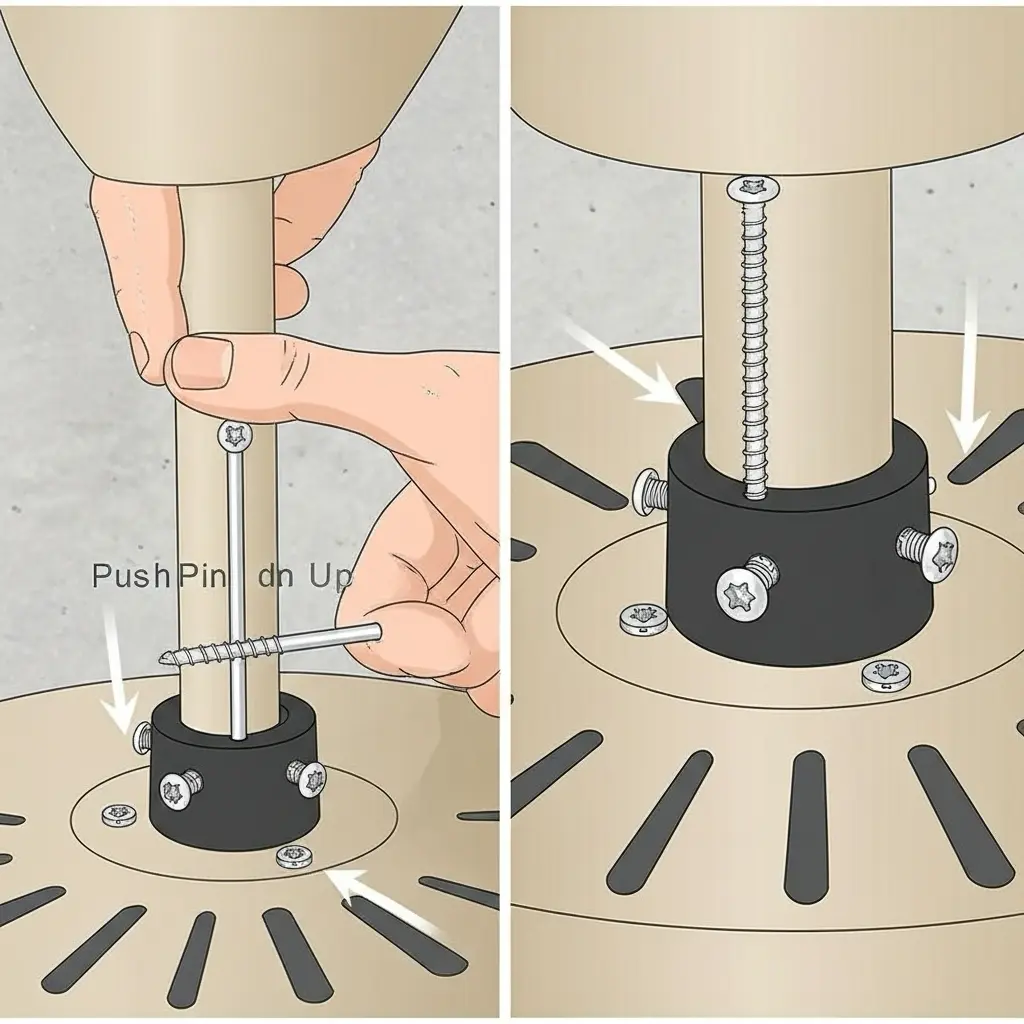
Step 3 – Assemble Downrod and Motor Housing
Insert the downrod through the canopy and thread the motor leads through it. Use a cotter pin and clevis pin to secure the rod to the motor yoke. Tighten the set screw to prevent rotation slip. This step determines alignment and minimizes vibration during operation.
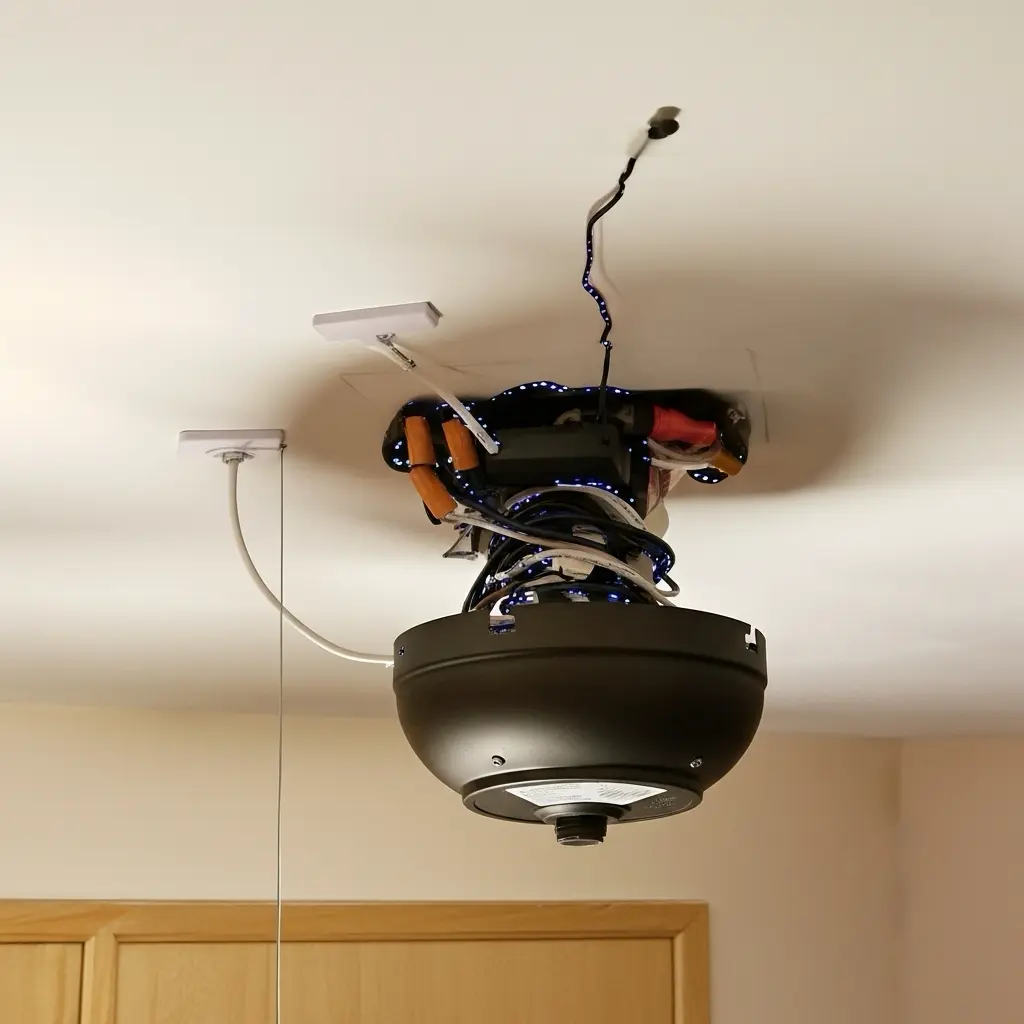
Step 4 – Mount the Motor Assembly
Lift the motor and seat the ball end of the downrod into the bracket’s socket. Check that the ball rotates freely. Attach the canopy and partially tighten screws so it hangs securely while you connect wiring.
Figure 1 – Placeholder for Wiring Diagram: Include diagram showing black → black, blue → red, white → white, green → ground connections.
Step 5 – Connect Electrical Wiring
Join wires using UL-approved connectors. For dual-switch control, connect the fan motor lead (black) and light lead (blue) to separate hot conductors from the wall switch. Wrap connections with electrical tape for added security and tuck the leads neatly inside the junction box.
Step 6 – Attach Fan Blades and Arms
Each blade arm mounts to the motor using two screws and lock washers. Tighten in a star pattern (1-3-5-2-4) to evenly distribute pressure. Then attach blades to arms and measure distance from blade tip to ceiling; all measurements should match within ⅛ inch. Uneven spacing causes wobble and bearing wear.
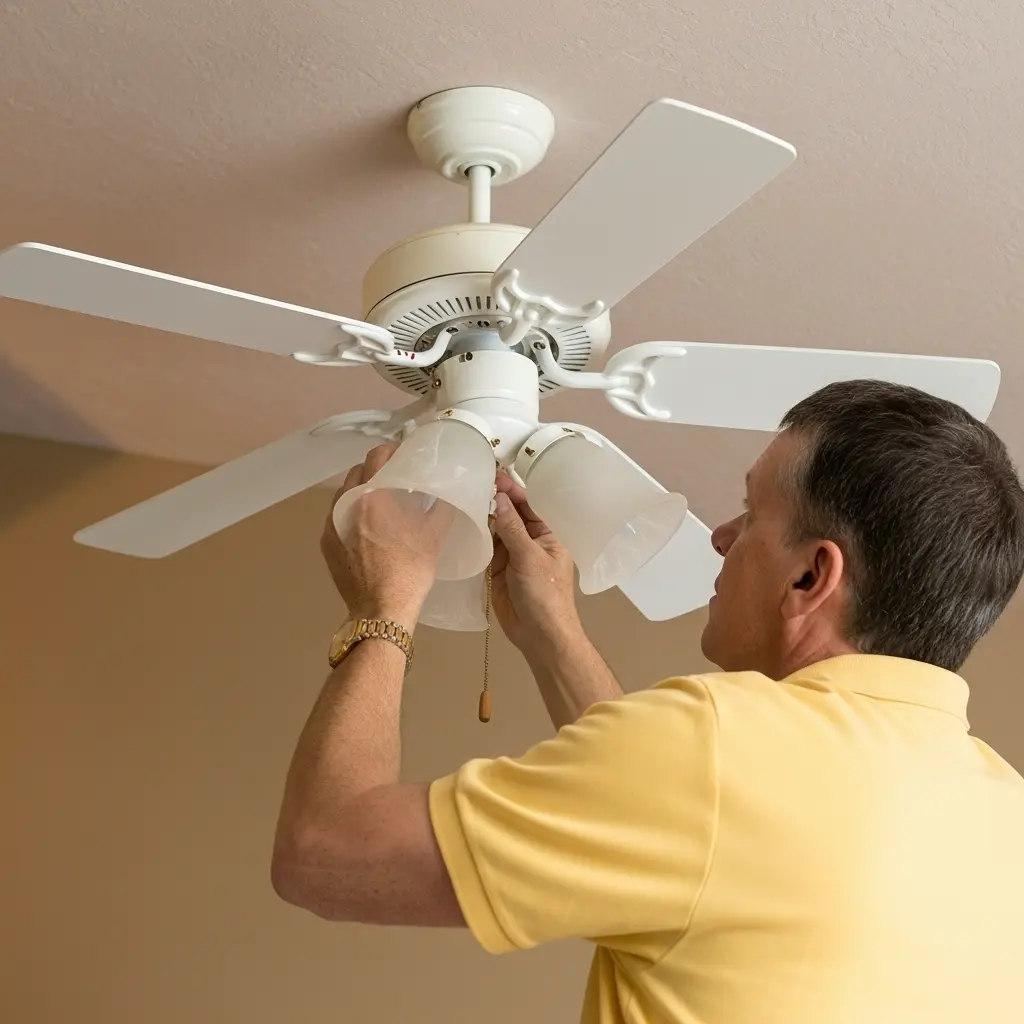
Step 7 – Light Kit and Accessories
For models with light kits, connect the blue and white wires to their counterparts. Secure the kit to the housing with three machine screws and attach shades and bulbs. Use Energy Star LED bulbs (10 W ≈ 60 W incandescent) for maximum efficiency.
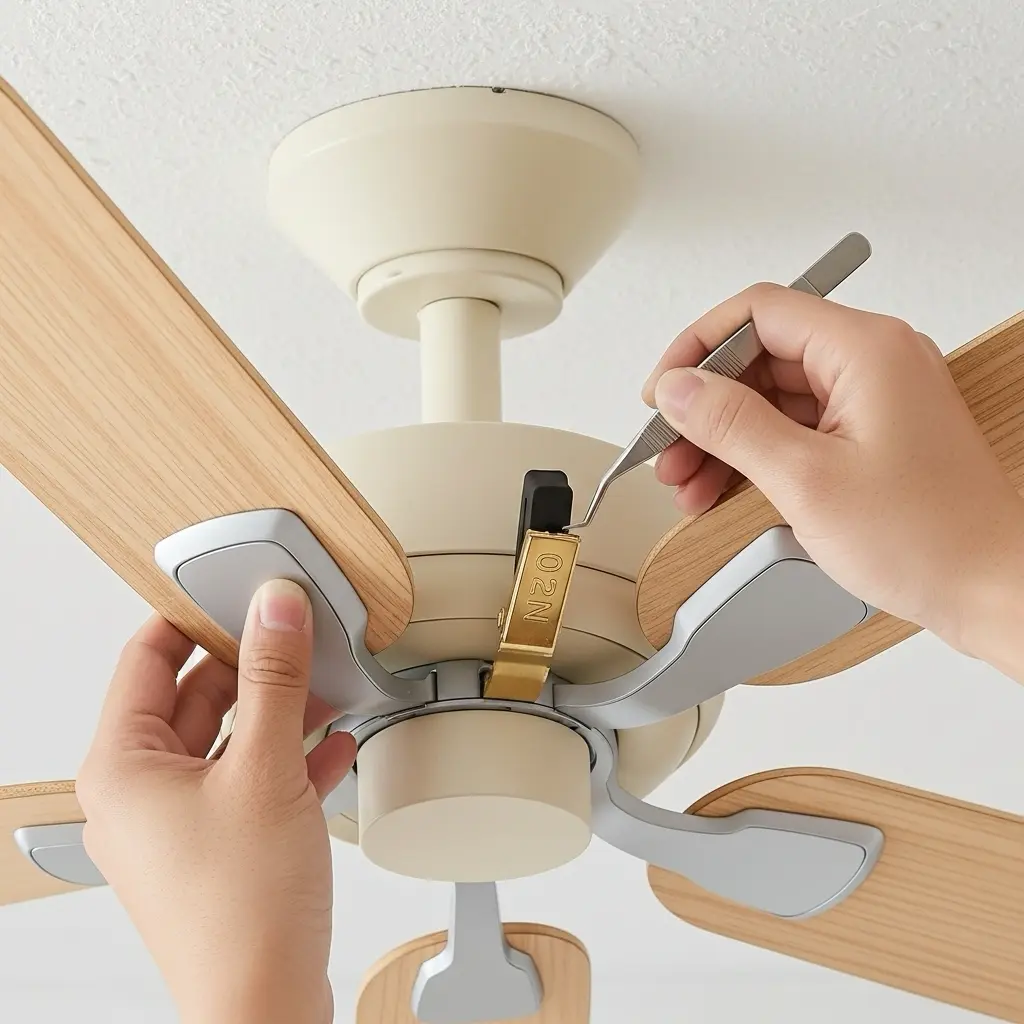
Step 8 – Balancing and Testing
Turn on power and test low, medium, and high speeds. If wobble is noticed, use the balancing clip to locate the heaviest blade and add a counterweight opposite it. Check for quiet operation—properly balanced fans operate below 45 dB (A-weighted), similar to a library environment.
Figure 2 – Placeholder for Installation Time Chart: Typical installation time comparison between DIY (90 min) and professional (45 min) setups.
Canadian Code Considerations (2025 Update)
Under the 2025 Canadian Electrical Code (CEC Part I), fans installed over living areas must use CSA Type NM cable or armored BX in metal boxes. Outdoor installations require damp-rated fixtures with weatherproof junctions and GFCI-protected circuits (CEC Rule 26-700). Always use copper conductors — aluminum is not approved for fan connections in residential settings.
Comparing Hampton Bay to Other Brands
| Brand | Avg CFM (52 in.) | Energy Use (W) | Efficiency (CFM/W) | Typical Warranty | Price Range (USD) |
|---|---|---|---|---|---|
| Hampton Bay | 5 200 | 60 | 86 | Lifetime motor / 1-yr parts | $80 – $230 |
| Hunter | 5 100 | 63 | 81 | Lifetime motor | $120 – $300 |
| Harbor Breeze |
Harbor Breeze4 9006773Limited Lifetime$90 – $220
Monte Carlo5 80052112Limited Lifetime$250 – $480
Table 3 – Brand comparison of 52-inch ceiling fans by airflow and efficiency. Hampton Bay offers a strong balance of price and performance for most homeowners.
Performance Analysis and Efficiency
Figure 3 below illustrates energy draw versus delivered airflow. Hampton Bay’s DC-motor models clearly outperform older AC designs, delivering up to 40 % more CFM per watt. This improved ratio results in tangible monthly savings—about $2.10 per fan when operated eight hours daily at $0.13 / kWh.
Figure 3 – Placeholder for Energy Efficiency Chart: Insert line chart comparing CFM/W across Hampton Bay (86), Hunter (81), Harbor Breeze (73), and Monte Carlo (112).
Troubleshooting and Optimization
1. Fan Wobble or Vibration
Persistent wobble can result from loose mounting screws or uneven blade weights. Tighten mounting hardware, check that the downrod is fully seated in its bracket, and use the balancing kit provided. A small coin-size weight on the lightest blade often eliminates vibration. Verify the ceiling box is rated for 70 lb minimum load.
2. Electrical or Remote Malfunction
If the fan or light does not respond, first replace remote batteries and confirm breaker position. Use a multimeter to check voltage (should read 110–120 V). For smart models like the Mara, reset Wi-Fi by holding the power button for 10 seconds. If the receiver is defective, Hampton Bay support can send a free replacement within warranty.
3. Unusual Noise
Rattling or hum may indicate blades are touching the canopy or a loose light kit assembly. Ensure the mounting bracket rubber isolator is present and the hanger ball is properly seated. Lubrication is not required for sealed bearings, so avoid oil application that could attract dust.
4. Airflow Direction and Seasonal Use
Use the direction switch on the motor housing to reverse rotation. For summer, set to counter-clockwise to create a cooling breeze; for winter, clockwise at low speed to recirculate warm air and reduce heating costs by up to 15 %. Figure 4 illustrates airflow patterns for both modes.
Figure 4 – Placeholder for Airflow Direction Diagram: Show clockwise vs counter-clockwise flow and temperature zones for summer/winter settings.
Maintenance and Cleaning Schedule
| Task | Frequency | Purpose |
|---|---|---|
| Blade dusting / vacuuming | Monthly | Maintains airflow and balance. |
| Bolt and screw inspection | Every 6 months | Prevents vibration and wear. |
| Motor housing check | Annually | Ensures seals and bearings remain intact. |
| Light kit inspection | Annually | Check for heat damage or loose connections. |
Energy and Cost of Operation (Example)
At average Canadian rates of $0.13 /kWh and eight hours of daily operation:
- 40 W Smart DC Fan → $1.25/month ($15/year)
- 60 W AC Motor Fan → $1.95/month ($23/year)
- HVLS Industrial Fan (0.75 kW) → $23/month ($276/year) for 20 000 sq ft coverage
Thus, for residential spaces under 400 sq ft, a Hampton Bay fan provides the best balance of airflow and energy use.
Canadian Compliance and Warranty Registration
Always register your product with Hampton Bay Canada to activate motor warranty coverage. Keep proof of purchase and installation records for future claims. If the fan is installed in a condo unit, ensure the electrical permit matches CEC Section 2 approval requirements. For outdoor models, verify the fixture is marked “Damp Rated” or “Wet Rated.”
DIY vs Professional Installation Cost Comparison
| Installation Type | Average Time | Labor Cost (CAD) | Success Rate | Common Issues |
|---|---|---|---|---|
| DIY (Homeowner) | 1.5 hours | $0 | 85 % | Wiring errors, loose mounts |
| Licensed Electrician | 45 min | $125 – $175 | 99 % | None typical |
Although DIY installation is common, professional service ensures code compliance and preserves warranty coverage—especially important in multi-unit residences.
Final Testing and Smart Integration
For Wi-Fi models, download the Hampton Bay Smart Home app. Connect to 2.4 GHz Wi-Fi, select device type, and follow on-screen instructions. Integration with Alexa or Google Home allows voice commands for fan speed and lighting. Verify that the firmware is updated after installation to avoid connectivity delays.
Conclusion
Installing a Hampton Bay ceiling fan is one of the simplest and most impactful projects you can tackle to enhance comfort and reduce energy costs. Whether you opt for a classic pull-chain model or a smart Wi-Fi version, a careful installation ensures quiet, balanced operation for years. Remember to follow code guidelines, use a rated mounting box, and take your time during wiring and balancing steps. Done right, a Hampton Bay fan adds both style and function to your home while delivering the same principles of efficiency found in commercial HVLS industrial fans.