Blog
What Should Homeowners and Contractors Know About Replacing a Ceiling Fan?
Step-by-step U.S. guide to replacing a ceiling fan tools, safety, wiring, installation, brand comparisons, and professional insights for homeowners and electricians.
Table of Contents
1) Introduction: Why Replacing a Ceiling Fan Matters
Few upgrades combine comfort, aesthetics, and energy savings as effectively as replacing an aging ceiling fan. In thousands of American homes and light-commercial spaces, older AC-motor units from the 1990s are finally giving way to sleek, quiet DC-motor models with smart connectivity and LED lighting. Whether you live in humid Florida, hot and dry Arizona, or snowy New York, a properly installed fan improves air circulation, balances room temperature, and trims HVAC costs by up to 30 percent.
This 2025 guide covers everything: safe removal of the old fixture, electrical preparation, advanced wiring, mounting, balancing, and brand selection. The approach bridges homeowner DIY and professional contractor standards, citing key U.S. codes (UL 507, NEC 314.27 (D), OSHA 1910).
2) Common Reasons for Fan Replacement
- Performance degradation: Bearings dry out, blades warp, capacitors fail, or speed control switches wear.
- Energy modernization: New DC motors cut consumption by 40–60 % while running quieter and cooler.
- Design refresh: Modern finishes—brushed nickel, matte black, reclaimed wood—match 2020s interior trends.
- Smart controls: Wi-Fi modules, occupancy sensors, and app integration add convenience.
- Safety & compliance: Older fixtures may lack a fan-rated junction box or proper grounding.
Figure 1 – Image Placeholder: “old-vs-new-fan-comparison.jpg” — a visual of an older pull-chain fan beside a modern DC smart model.
3) Safety First: Electrical Isolation & Work Zone Setup
Always begin by switching off the correct circuit breaker at the service panel, tagging it “Do Not Energize.” Confirm power-off using a voltage tester on both hot and neutral conductors. OSHA statistics show most ceiling-fan injuries result from either live-wire contact or falls from unstable ladders—never underestimate these basics.
Required Personal Protective Equipment (PPE)
- Non-conductive step ladder rated ≥ 250 lb
- Safety glasses and insulated gloves
- Closed-toe shoes with non-slip soles
Create a clutter-free workspace: remove furniture, lay a drop cloth for debris, and position the ladder directly under the mounting box. Good lighting is crucial—headlamps free your hands for wiring.
4) Tools and Materials Checklist
- Voltage tester / multimeter
- Phillips / flat screwdrivers
- Wire strippers & UL-listed connectors
- Adjustable wrench / pliers
- Fan-rated ceiling box and mounting hardware
- Electrical tape & circuit labels
- Balancing kit (included with most fans)
Tip for pros: keep a torque screwdriver calibrated for 10–15 in-lb—most fan-bracket screws specify that range per UL testing.
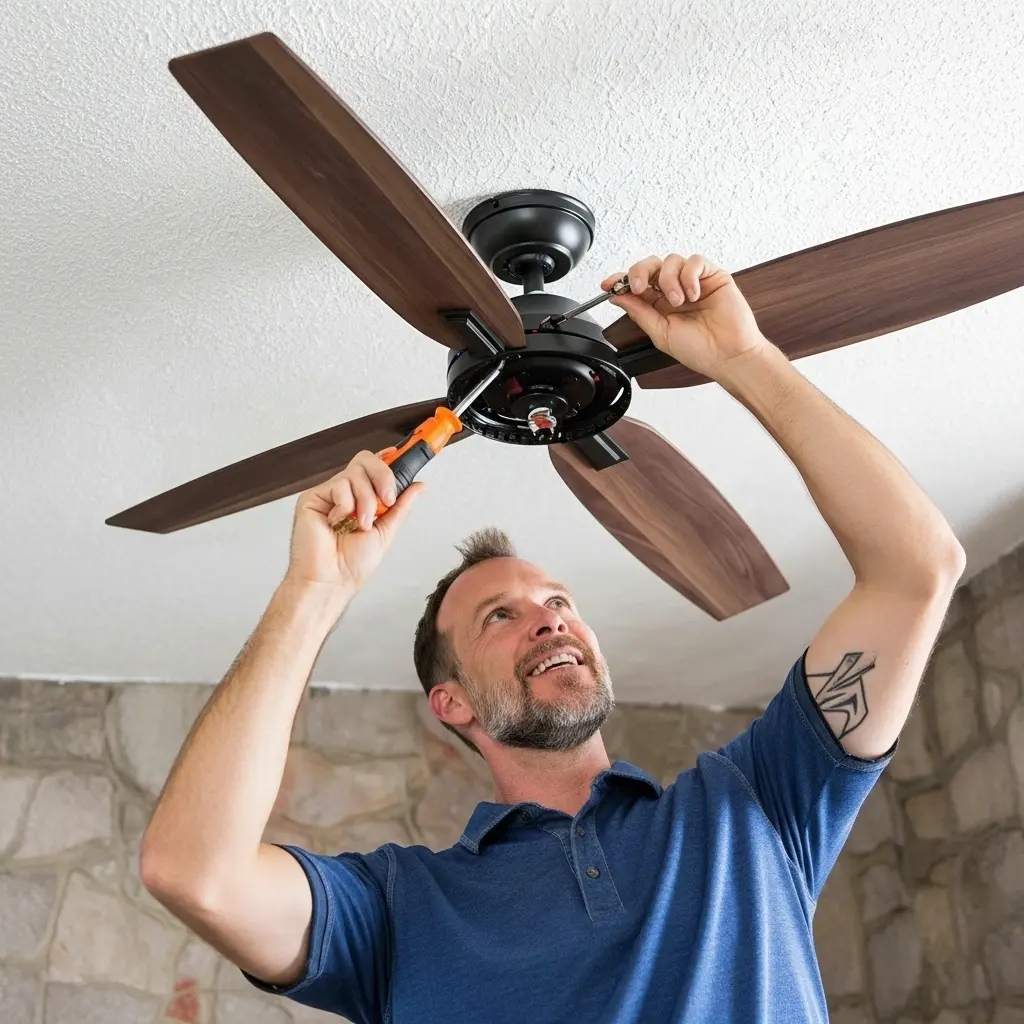
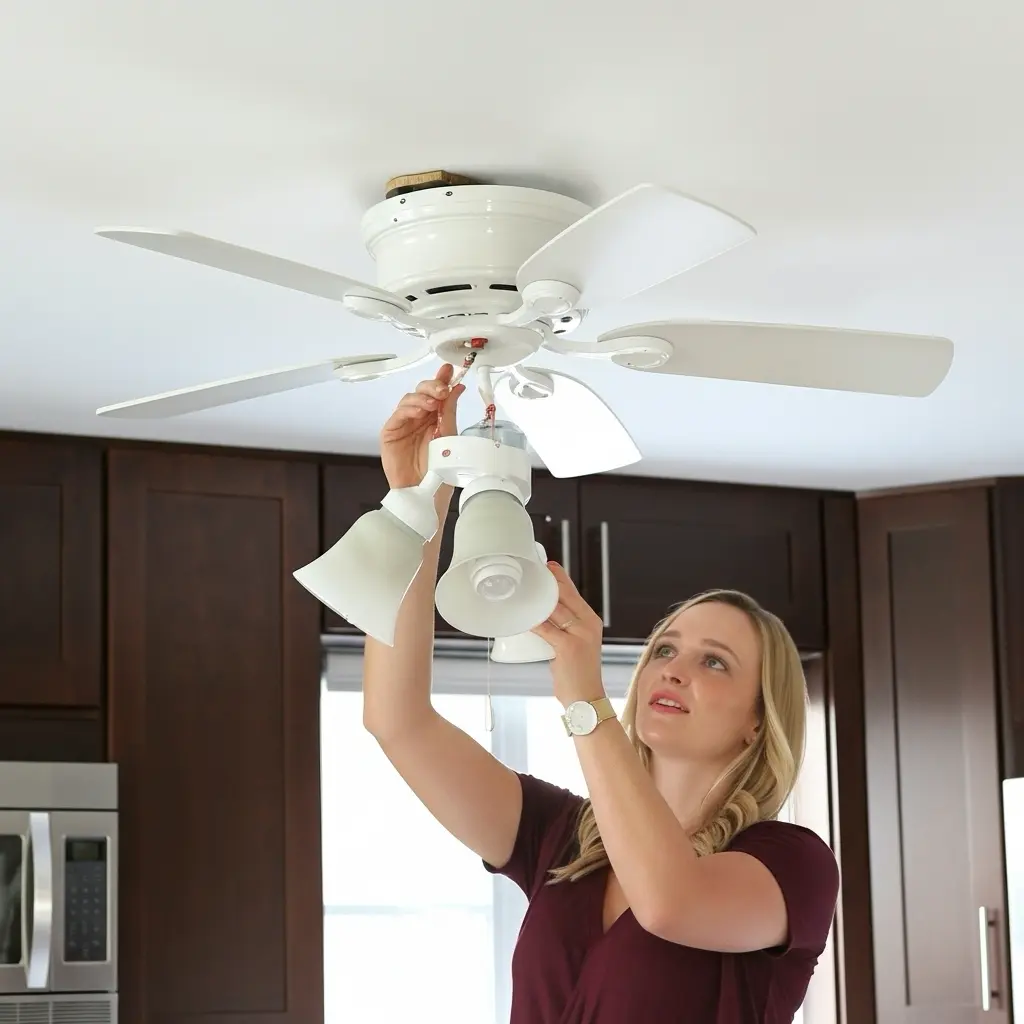
5) Removing the Old Fan
- Remove glass shades and bulbs to reduce weight.
- Detach blades from the motor housing; set them aside flat to prevent bending.
- Unscrew the canopy to expose the mounting bracket.
- Verify power-off again using a voltage tester.
- Disconnect wires: typically
black = hot,white = neutral,green/bare = ground. - Support the motor while removing final mounting screws to avoid twisting wires.
Figure 2 – Image Placeholder: “fan-removal-diagram.png” — labeled drawing of canopy, bracket, and wire nuts.
6) Inspecting and Upgrading the Ceiling Box
The ceiling box must be explicitly rated to support dynamic loads from a rotating fan. Check for these markings:
Suitable for Fan Support Up to 70 lbstamped on metal housing.- Rigid attachment to joist or adjustable fan brace (no lateral movement > ⅛ in).
- Grounding screw installed; conductor insulation intact.
If your box flexes, replace it with a steel, fan-rated model using a bar brace. Reference: NEC 314.27 (C)(D).
7) Pre-Assembly of the New Fan
Unpack components on a padded surface. Verify that all blades are matched by serial or batch code—mixing sets causes imbalance. Assemble the downrod and motor housing following the manufacturer’s order:
- Insert wires through the downrod and secure with the clevis pin + cotter pin.
- Tighten set screws to manufacturer torque spec (typically 35 in-lb).
- Mount the bracket to the rated box using #10-32 machine screws × 2.
- Feed the supply conductors through the bracket grommet; leave 6 in free length for terminations per NEC 300.14.
Figure 3 – Image Placeholder: “downrod-assembly.jpg” — close-up of pin, set screw, and safety clip orientation.
8) Wiring the New Fan
Identify circuit configuration:
- Single-switch (combined light + fan): both connect to hot (black) via pull chain or remote.
- Dual-switch: separate hot leads—black = fan, blue = light kit.
- Smart module: connect neutral and line as instructed, then pair via Wi-Fi before mounting canopy.
Typical color mapping:
Supply:  Black (Line) → Fan Black
          White (Neutral) → Fan White
          Bare/Green → Fan Green (Ground)
Optional: Blue (Light Kit) → 2nd Switch Hot
Twist each joint clockwise, cap with UL-listed connectors, and wrap one layer of electrical tape. Gently tuck wires into the box, avoiding pinches when raising the canopy.
9) Attaching the Blades and Light Kit
Secure blade arms with the supplied lock washers. Torque evenly to avoid warping the blade pitch—unequal torque causes wobble and mechanical hum. After blades, connect the light kit harness (if included), matching quick-connect colors. Attach shades and bulbs within wattage limits.
Figure 4 – Chart Placeholder: “blade-torque-vs-wobble.png” — graph showing vibration amplitude dropping after torque equalization.
10) Initial Balance Test
- Restore power at the breaker.
- Run fan on low speed first; observe blade path. Lateral deviation > ⅛ in requires balancing.
- Attach the supplied clip halfway along each blade, one at a time, until vibration minimizes.
- Apply permanent adhesive weight opposite the clip location for final balance.
11) Extended Brand & Feature Comparison (2025 Models)
The following table summarizes top U.S. ceiling-fan lines for homeowners and pros alike. Data = manufacturer published specs (average).
| Brand / Series | Diameter (in) | Motor Type | Airflow (CFM) | CFM / W | Noise (dB) | Smart Integration | Price (USD) |
|---|---|---|---|---|---|---|---|
| Hampton Bay – Mara Smart | 52 | DC | 6 000 | 85 | 48 | Alexa / Google | $160 – $230 |
| Hunter – Builder Deluxe | 52 | AC | 4 500 | 67 | 51 | Optional remote | $120 – $190 |
| Harbor Breeze – Armitage | 52 | AC | 4 200 | 64 | 53 | Pull-chain | $85 – $150 |
| Monte Carlo – Aviary | 56 | DC | 7 100 | 92 | 47 | HomeKit / Google | $260 – $400 |
Observation: DC-motor models (Hampton Bay Mara, Monte Carlo Aviary) deliver up to 35 % higher efficiency and significantly quieter performance than legacy AC units. Smart connectivity is quickly becoming the new baseline.
12) Engineering Note – AC vs DC Motors Explained
AC motors use alternating current from household supply directly; they’re inexpensive but less efficient because speed control depends on resistance or capacitance, which wastes power as heat. DC motors, meanwhile, rectify the AC input and use electronic commutation with permanent magnets. That yields higher torque at low speed, smoother motion, and 60 % lower energy draw. In real terms, a 52-inch DC fan consumes ≈ 30 W on medium, versus ≈ 70 W for a similar AC fan—cutting annual electricity by about 40 kWh.
Figure 5 – Chart Placeholder: “ac-vs-dc-efficiency.png” — bar chart comparing power draw and CFM/W between AC and DC fans.
Additional perks: instant start, electronic soft stop, and remote variable-speed range (≈ 6 settings). Maintenance is virtually zero since there are no brushes to replace.
13) Interlink – Related Guides
For deeper mechanical or installation references, see our related guides:
- Installing a Hampton Bay Ceiling Fan (Full Step-by-Step Tutorial)
- Large Industrial Ceiling Fans – Engineering and ROI Analysis
14) Regional Climate Impact on Fan Choice
Different U.S. climates impose unique design priorities:
- Texas / Arizona: Prioritize metal-blade models rated “Dry” with high airflow (≥ 6 000 CFM) for garage or patio use.
- Florida / Gulf Coast: Select Damp-rated finishes to resist humidity and salt corrosion; choose sealed bearings.
- Pacific Northwest: Use integrated LED fans with variable color temperature to compensate for low daylight.
- Northeast / Midwest: Favor reversible motors and strong upward mode for winter heat recirculation.
Figure 6 – Image Placeholder: “usa-climate-map-fan-types.png” — map showing recommended fan ratings by U.S. region.
Case study: a distribution warehouse in Dallas installed 3 Hampton Bay Mara Smart fans and raised its thermostat setpoint by 3 °F while maintaining occupant comfort—saving ~ 15 % on HVAC costs annually.